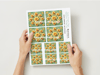
Quirky Concepts - Paper Folding Fun - Tea Bag Tiles Sheet PDF Digital Download - Daffodil Bouquet With Instructions
This listing is for a digital file - no physical product will be sent.
Quirky Concepts - Paper Folding Fun - Tea Bag Tiles Sheet PDF Digital Download - Daffodil Bouquet
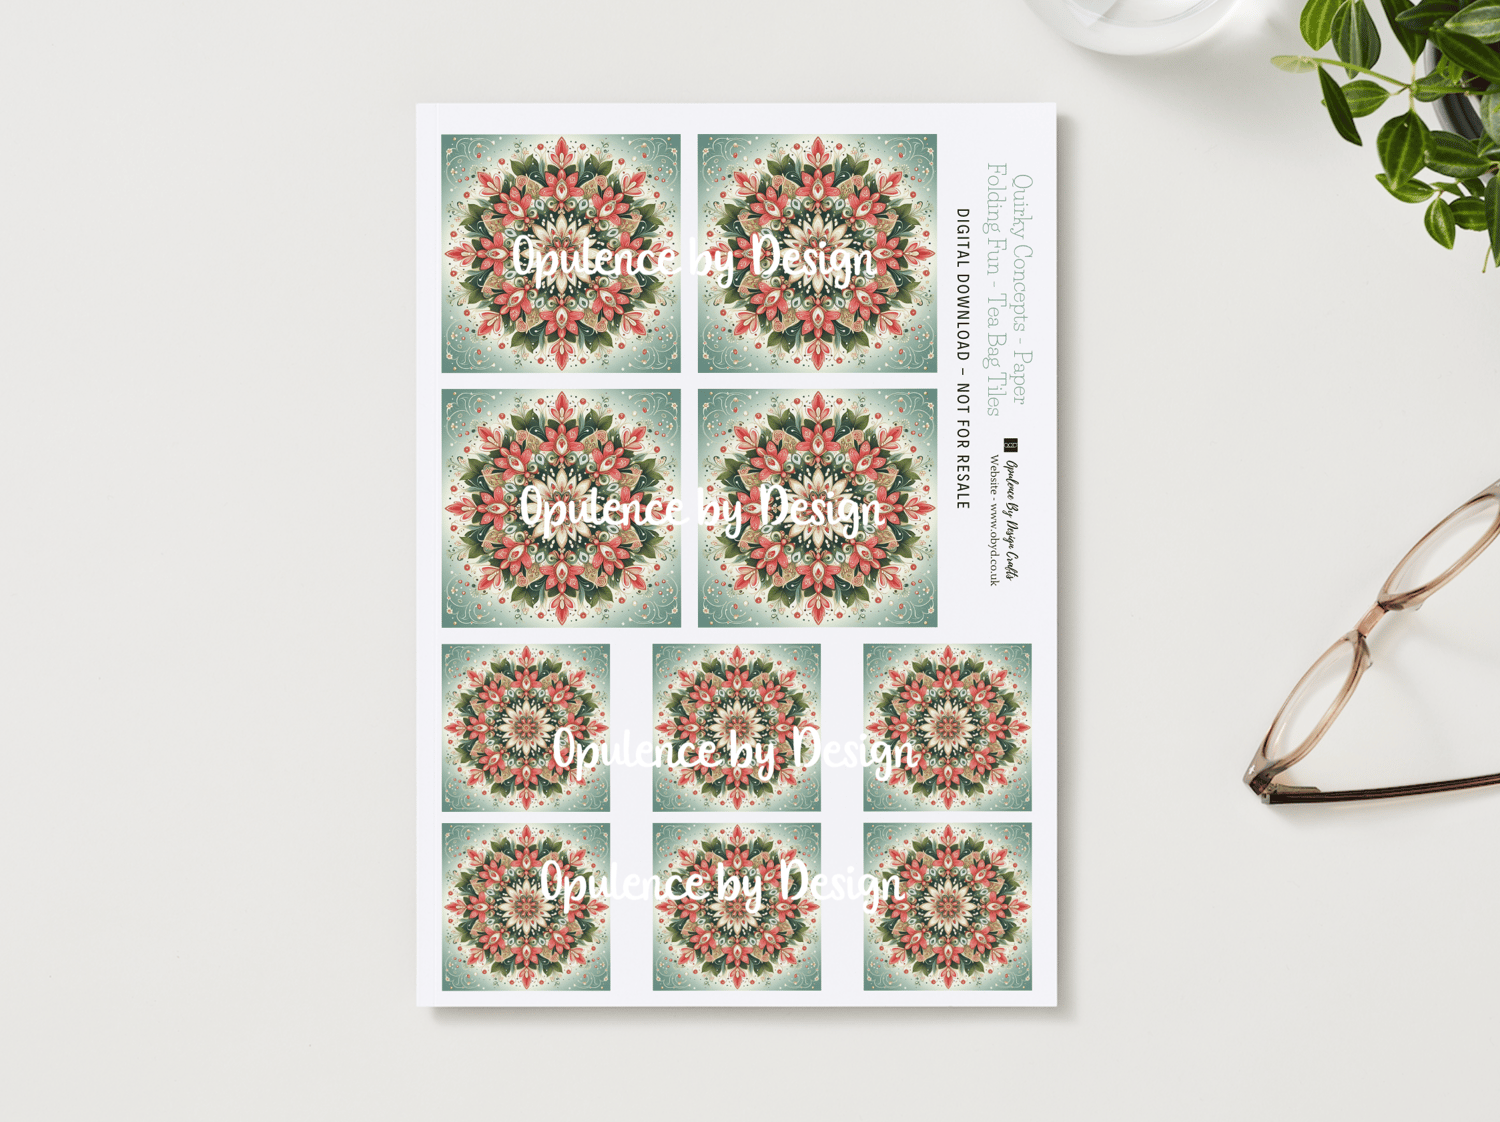
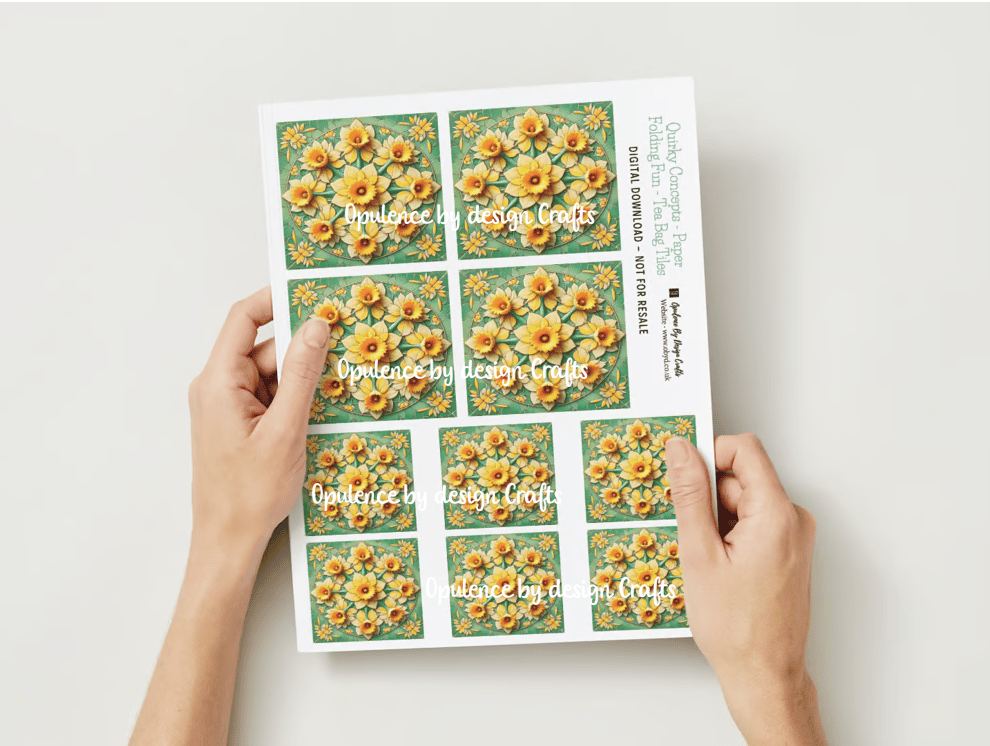
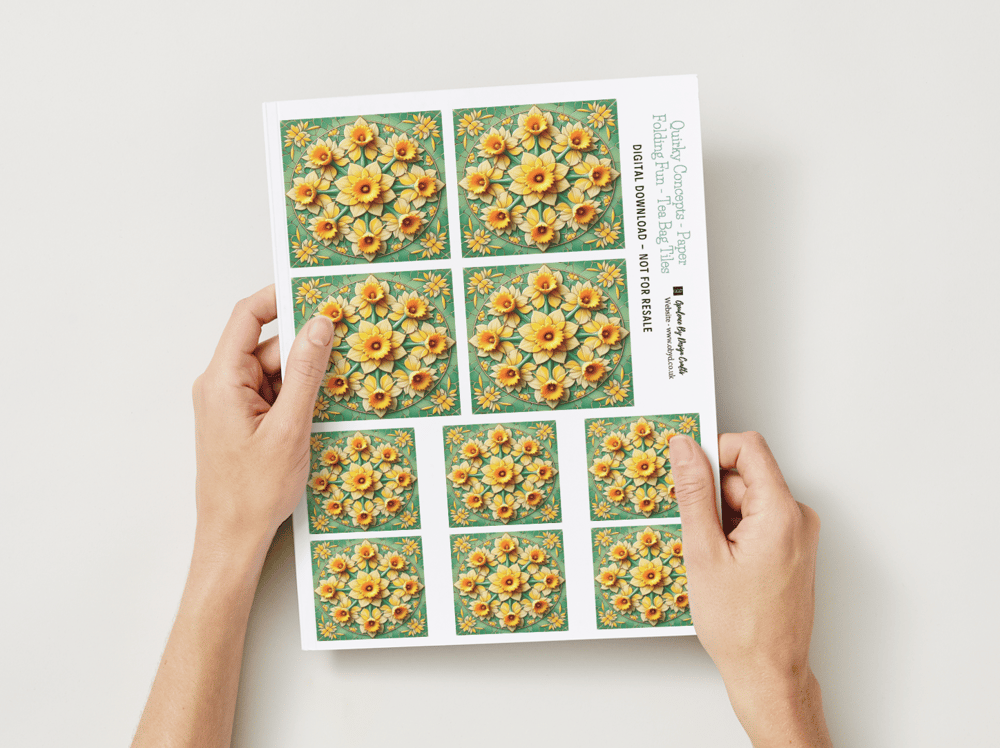
The sheet contains:
4 x large square tiles
6 x medium square tiles
The instructions are below in this listing - please scroll down to the bottom of the page
Introducing Our New Tea Bag Folding Tile Sheets!
Discover a new way to add depth and dimension to your papercraft projects with our Tea Bag Folding Tile Sheets. Perfect for cardmakers and paper enthusiasts alike, these sheets are designed to make the intricate art of tea bag folding accessible and fun for everyone!
What is Tea Bag Folding?
Tea bag folding is a versatile papercraft technique where small, square tiles are folded into intricate designs, often resembling rosettes or stars. These folded shapes can then be layered or arranged to create stunning 3D embellishments for your cards, scrapbook pages, and other creative projects.
Get Started Today
Ready to try tea bag folding or add a fresh touch to your papercrafts?
Simply print, cut and craft!
If you would like to check out my little Youtube Channel for cardmaking, flower making and general craft videos and tutorials you can find my gallery here: https://www.youtube.com/c/opulencebydesign
How to print:
I strongly recommend using quality printing paper rather than copier paper to print your designs onto - this will give you a more professional finish.
Make sure your printer is set to printing on the "Best Quality" option
Please save your files - once you have download your file please save it as we are unable to send replacement files.
Returns and refund policy:
Please note due to the nature of the product (digital file) I don’t accept returns. Unfortunately once payment has been made order cancellations aren’t possible.
Should you have any questions about the product please message me before you order.
Are you new to cardmaking or paper crafts?
If you would like more crafty inspiration please join me in my little facebook community
https://www.facebook.com/groups/672573406875861
And check out my youtube channel: https://www.youtube.com/channel/UCxsfFYgq06Zk523Iz0GUpjw/featured
Angel Policy for my designs
The Angel Policy - by purchasing the downloads you are agreeing to the terms laid out below in our "Angel Policy" An Angel policy is the terms of use for the product in which it may be used.
Please ensure you have read the below before you purchase.
I operate a very open Angel policy.
What You Can Do
✅ You may sell any handmade items created using my designs at craft fairs, in shops, or online (e.g., Etsy, Facebook, Instagram, eBay).
✅ There is no limit on how many handmade items you sell, provided each is crafted by you.
✅ You can resize my designs to suit your projects.
✅ You can use my designs with your digital cutting machines to create your projects.
What You Cannot Do
❌ You may NOT sell or share the designs in printed form (e.g., printed sheets).
❌ You may NOT share the digital files with others. Please direct friends or family to my website to purchase their own copies.
❌ You may NOT use any part of my designs or artwork to create your own digital files for resale.
❌ You may NOT sell or distribute my downloads for free or on any download sites, whether in original or altered formats.
❌ You may NOT use my designs or artwork as part of your business branding, such as logos, websites, business cards, or social media branding.
Use in Craft Clubs, Classes, and Workshops
- My downloads are sold for personal use only and cannot be shared or used for group activities (e.g., craft clubs, classes, or workshops).
- If you’d like to use my designs in these settings, I offer a Craft Club License that allows group use. Please contact me for more information.
How you can help us:
- Share your makes using our designs on social media and if possible let people know where you have bought the designs from
- Share your makes in our cardmaking group on facebook to show everyone what you have made, if you are able to share in other groups and let people know where you got the design sheets that would be amazing!!
- Follow us on our social media platforms - any interaction on social media really helps us!
- Take a peek at our youtube channel - if you like the videos please subscribe, like, comment and share the videos with your crafty friends.
FOR all social media links, facebook group and youtube channel you can use the link here: https://linktr.ee/Opulencebydesign
How we can help you:
- We offer youtube videos for our designs, if there is a design sheet you like but would like more inspiration then do let us know and we will create a video for you and pop it on our youtube channel. The inspiration behind our business is helping to inspire our customers to craft - by offering instant downloads and the tutorial for you to craft along with to be able to re-create what you have seen in the video.
- If there is something you would like to make but you can't find it on the high street let us know the theme or occasion and we will look to create something for you. We have lots of customers who get orders for handmade cards and ask us to design sheets for them to use (there is usually no additional design fee charge for this service for generic designs)
- We have a little crafty facebook group where we share ideas, projects, tips and techniques as well as discuss what designs people would like. It is much easier to chat on facebook.
We aim to bring you designs at affordable prices that you can use time and time again!
Inspiration Zone - Design team samples area:
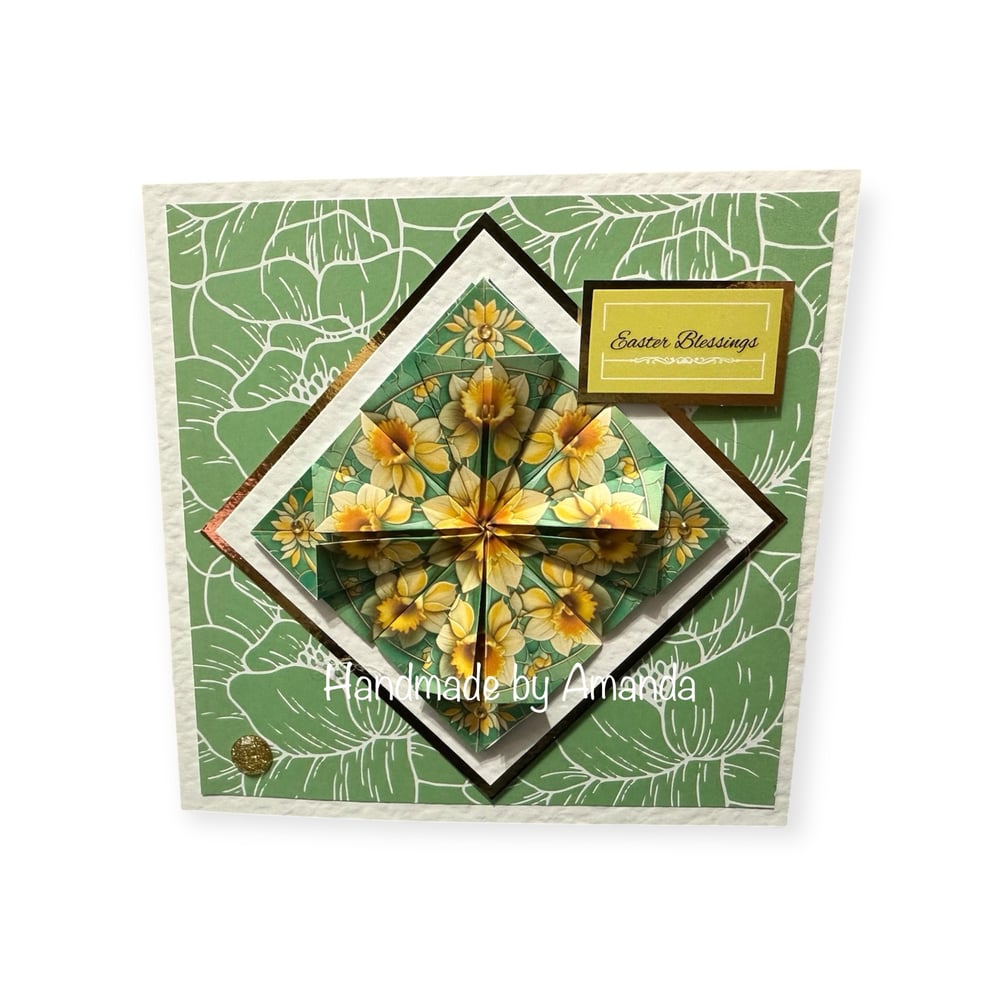
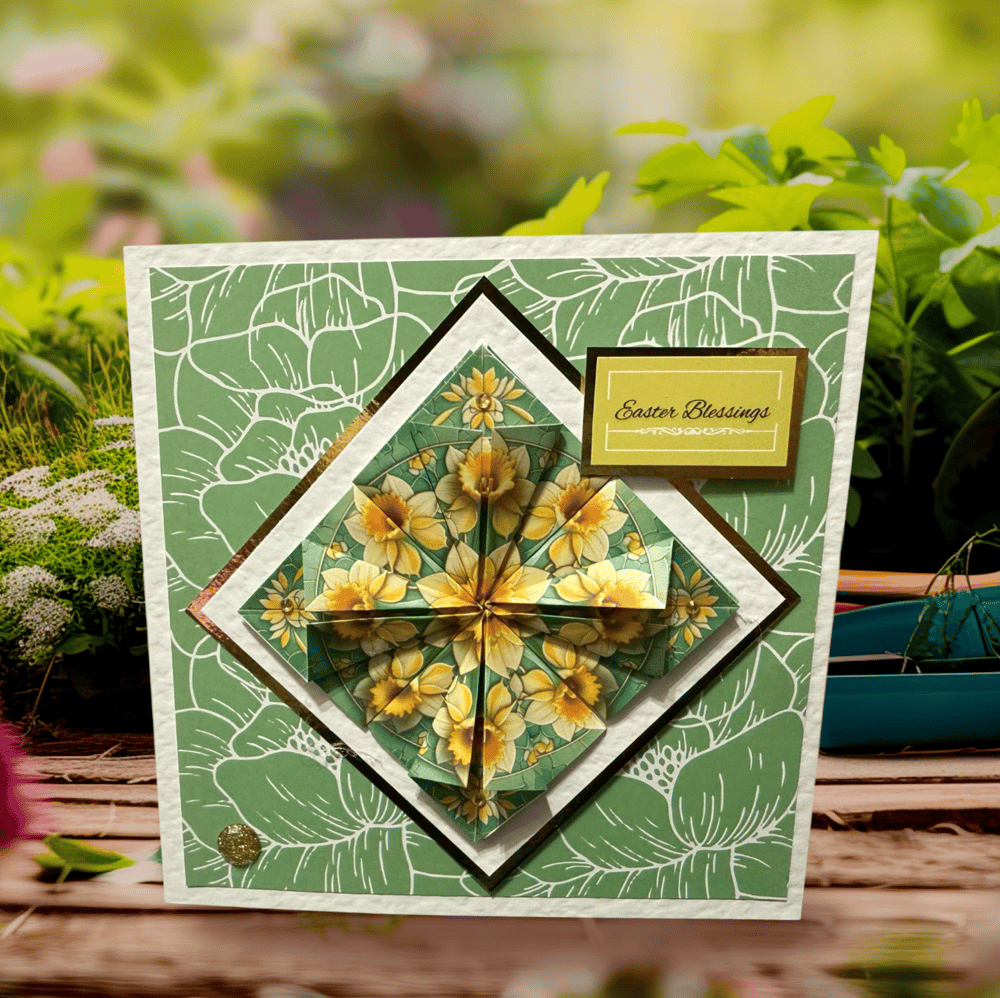
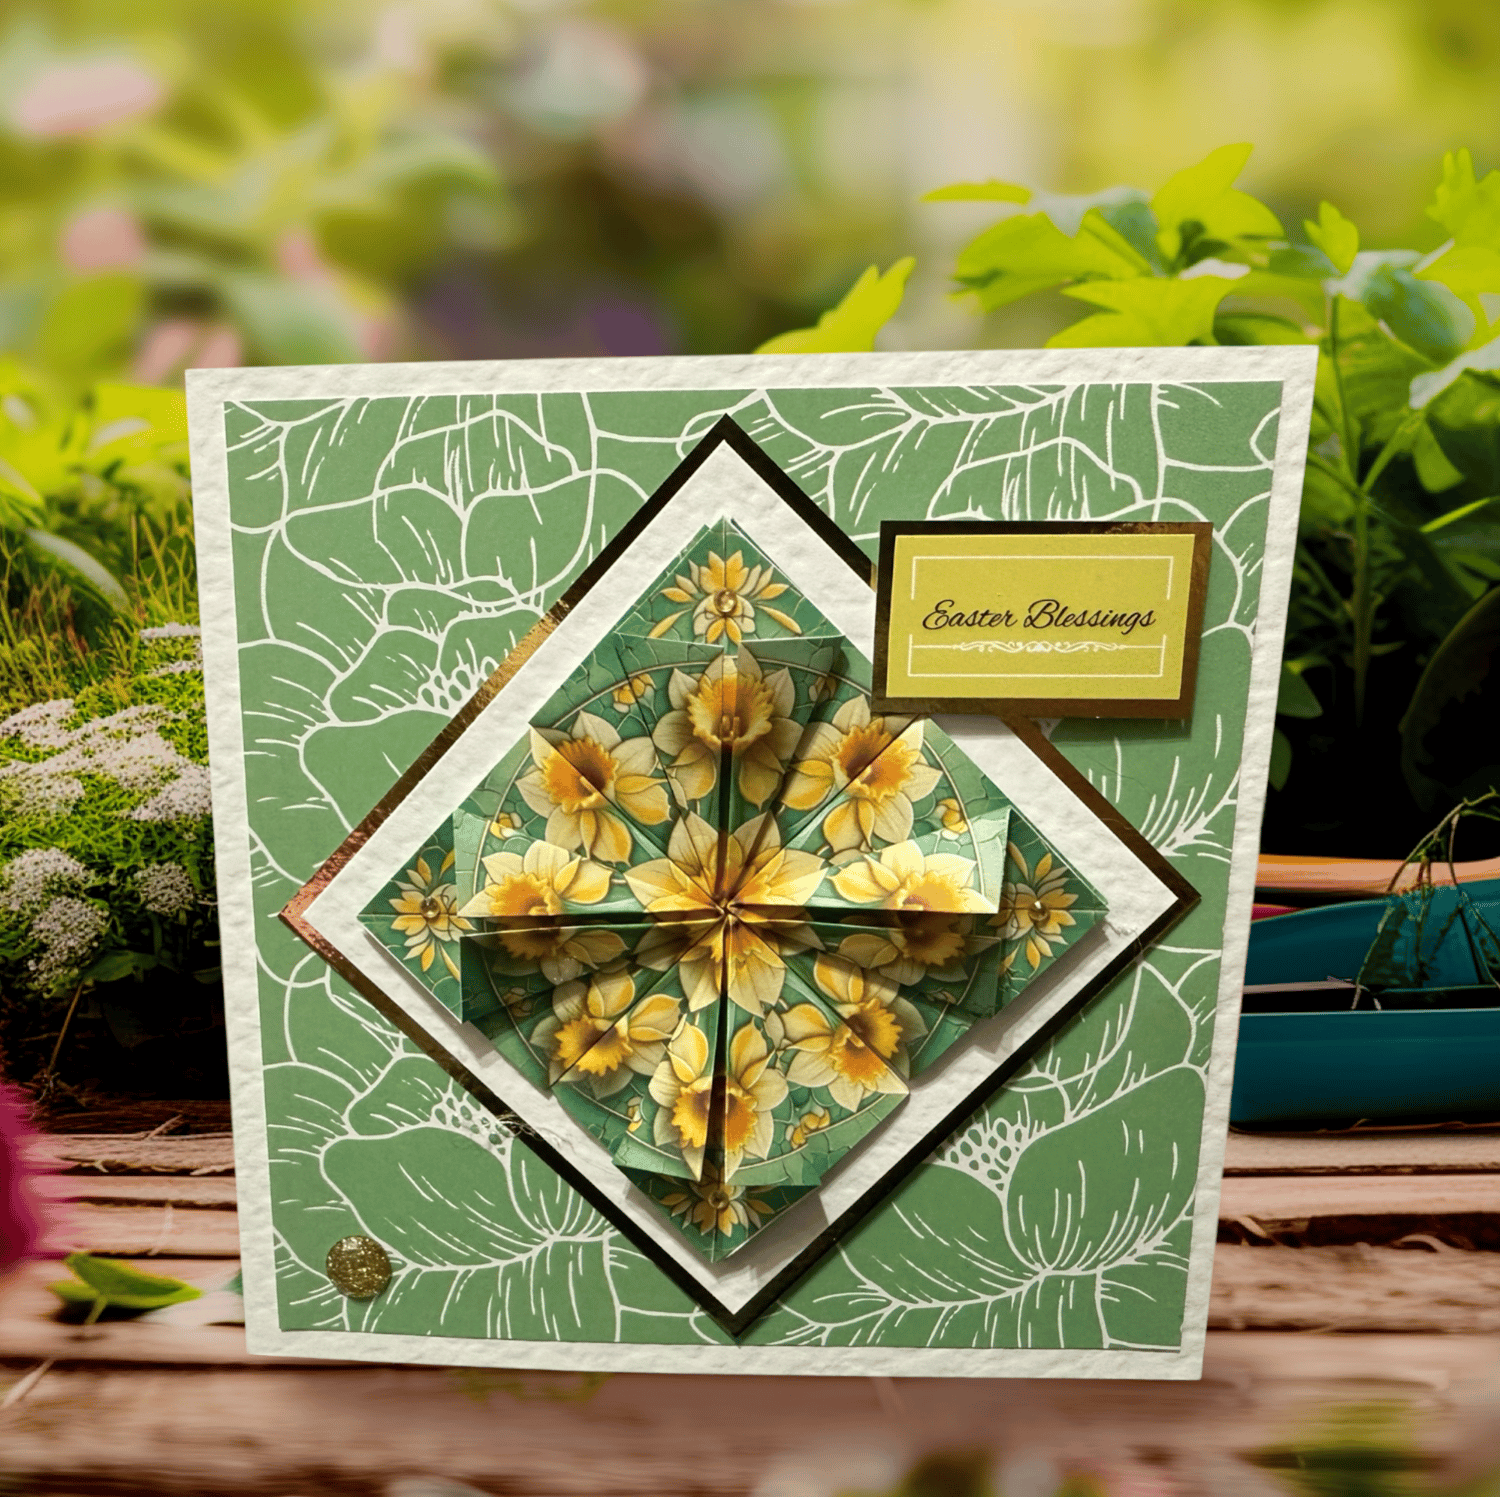
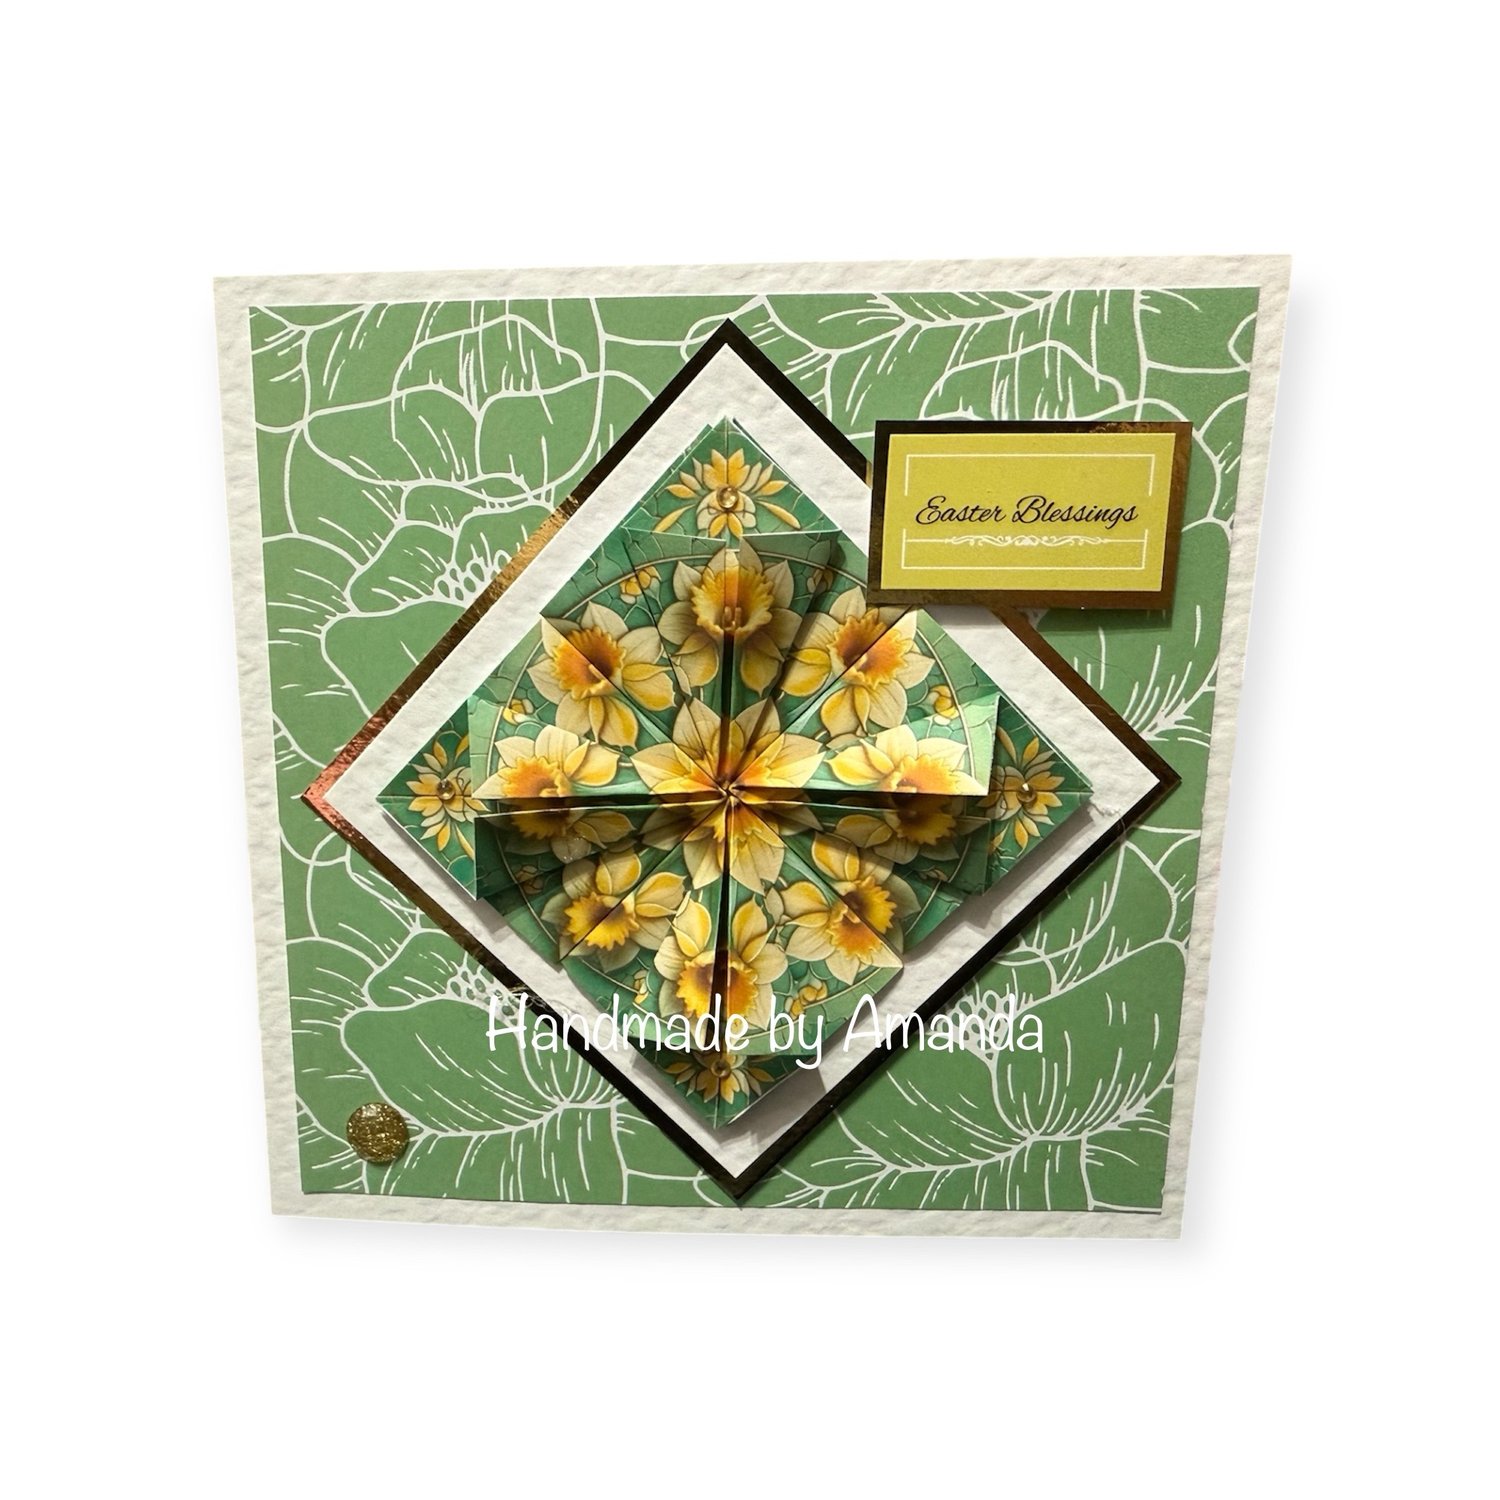
If you would like to check out the full blog post for this card along with the supplies list you can find it here
Step-by-Step Instructions to Create Your Tea Bag Folded Topper
Step 1: Cut Out Your Tiles
- Print and Cut out the 4 larger square tiles from your sheet.
- These will be the tiles you fold to create your topper.
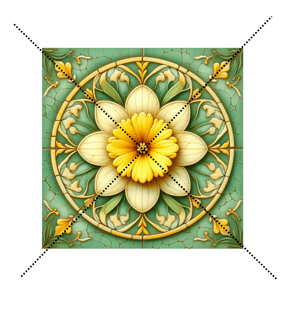
Step 2: Create the Fold Lines
- Place one tile on your work surface print side up, with the points at the top and bottom like a diamond shape.
- Bring the bottom point to the top point, creating a triangle.
- Use your bone folder to firmly crease the fold line.
- Open it up.
- Turn your tile 90 degrees and repeat the fold from bottom point to top point.
- Open it up again – you should now have two diagonal fold lines.
Step 3: Fold the Opposite Way
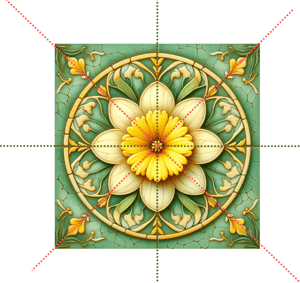
- Turn your tile over so the white side is facing up.
- Place it down in front of you as a square shape (not a diamond this time).
- Fold in half from left to right to create a fold line down the middle.
- Open it up.
- Rotate it 90 degrees and fold in half again from top to bottom.
- When you open it up, you will now have 4 clear fold lines (2 diagonals and 2 straight across).
Step 4: Collapse the Tile Into a Folded Square
- Turn your tile back to the patterned side up.
- Hold the bottom left corner with your left hand and the top right corner with your right hand.
- Gently push the sides in – the fold lines will want to come together and the tile will naturally collapse into a small square folded tile.
- Smooth down all the edges to make it crisp.
Repeat Steps 2-4 for all 4 tiles.
Step 5: Create the Inner Folds
- Place your folded tile down in front of you with the inside folds facing up (the part that opens like a little pocket).
- Take the bottom left point (Point A) and bring it to the centre (Point B) to create a fold along the dotted yellow line
- Firmly crease that fold.
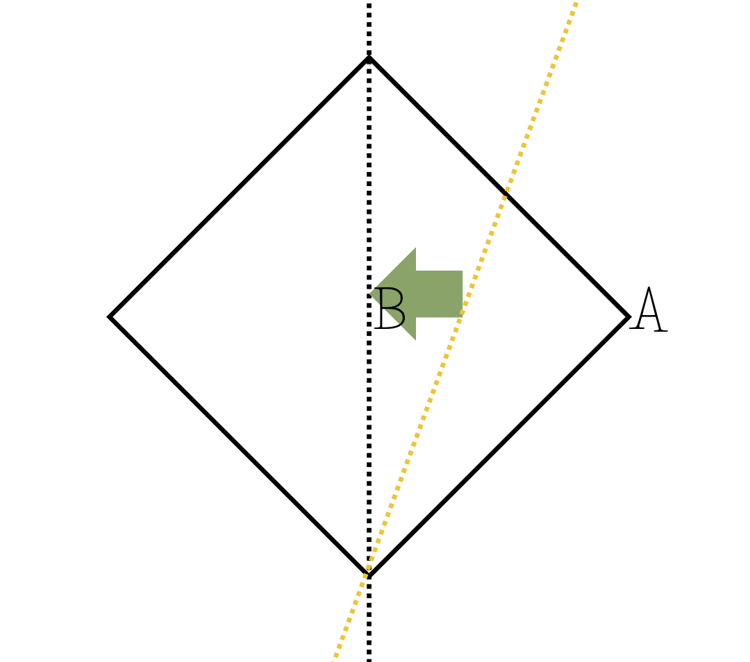
4.)Repeat this fold on the other side by bringing the bottom right point into the centre.
5.)Your tile will now have two little folded sides giving it dimension.
6.)Repeat this step for all 4 folded tiles.
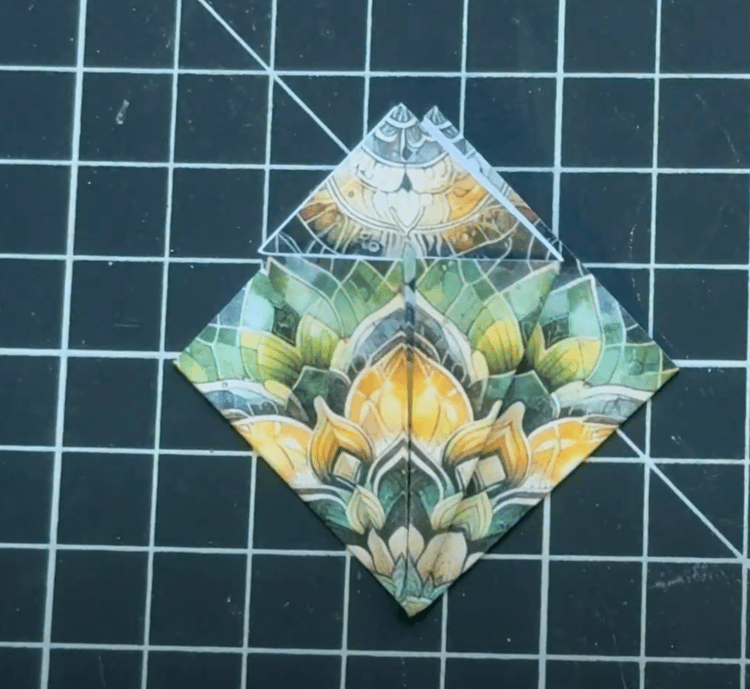
Step 6: Cut Your Card Base
- Cut yourself a 9cm square piece of card.
- This will be the base you build your folded tile topper on.
- I like to do 9cm square as it gives me a bit of wiggle room if I want to trim it down later.
Step 7: Assemble Your Topper
- Visualise your square card base as a pie with 4 quarters.
- Start by gluing 2 of your folded tiles onto opposite corners, ensuring the points face outward.
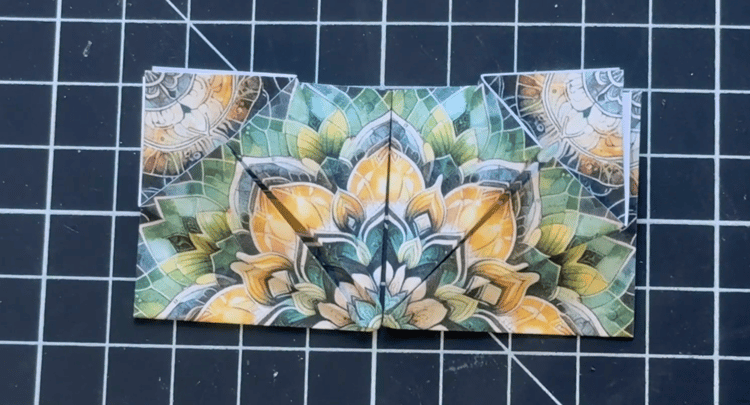
3. Leave a nice bit of white space around them to create a clean border for your topper.
4.Once those 2 are glued down, glue the remaining 2 tiles in the remaining corners, still leaving a white border.
5.Once you're happy with the placement, glue everything down securely.
Step 8: Finish Your Topper
- Once glued, you’ll see a beautiful dimensional layered effect in the centre of your topper.
- You can now add a centre embellishment like a gem, pearl, flower, or button to give your topper a finished look.
- If you want, you can mat and layer your topper onto glitter card, mirror card, or patterned paper to really make it pop.
✨ And that's it – you've now created a stunning Tea Bag Folded Topper! 💕